How to Zoom to Selected Area of Video
Occasionally, you may want to add a zoom effect to your movies. You can use the zoom effect to create dramatic visuals and to show more close-up detail. An important factor to keep in mind is that your video resolution remains unchanged when you zoom in. For ex: a clip saved at high resolution (1920x1080) will look better when zoomed in than a clip saved at a low-res (640x480). That's because the higher a video clip's resolution, the more pixels it contains. The more pixels present, the more room you have to work as you zoom in — before the picture begins to appear grainy.
-
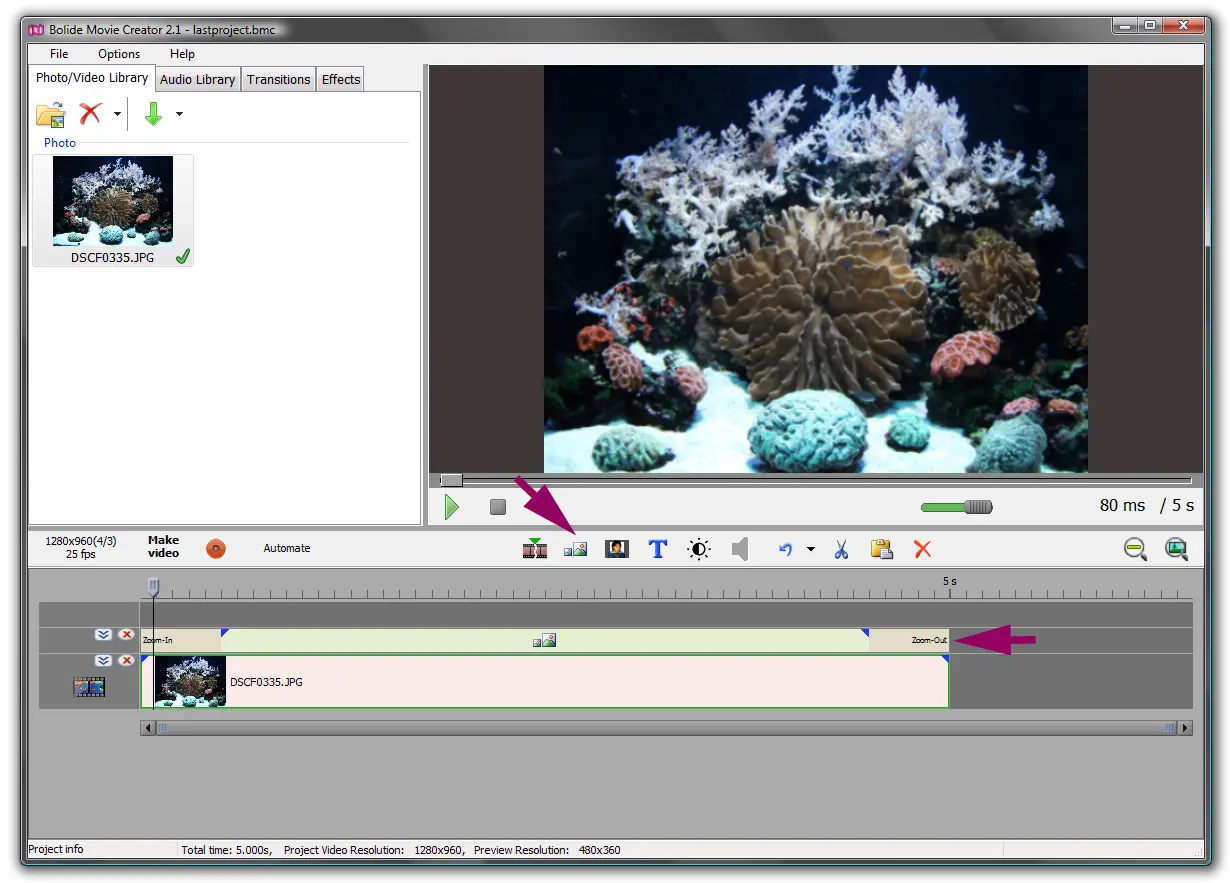
First, click Zoom effect on the BMC toolbar. This will automatically add a new Zoom effect to a new track above your main video on your project timeline.
-
Notice how your new Zoom effect includes a Zoom-In at the beginning, and a Zoom-Out at the end? These function exactly as you'd expect with Zoom-In causing video details to enlarge, and Zoom-Out causing enlarged details to return to normal.
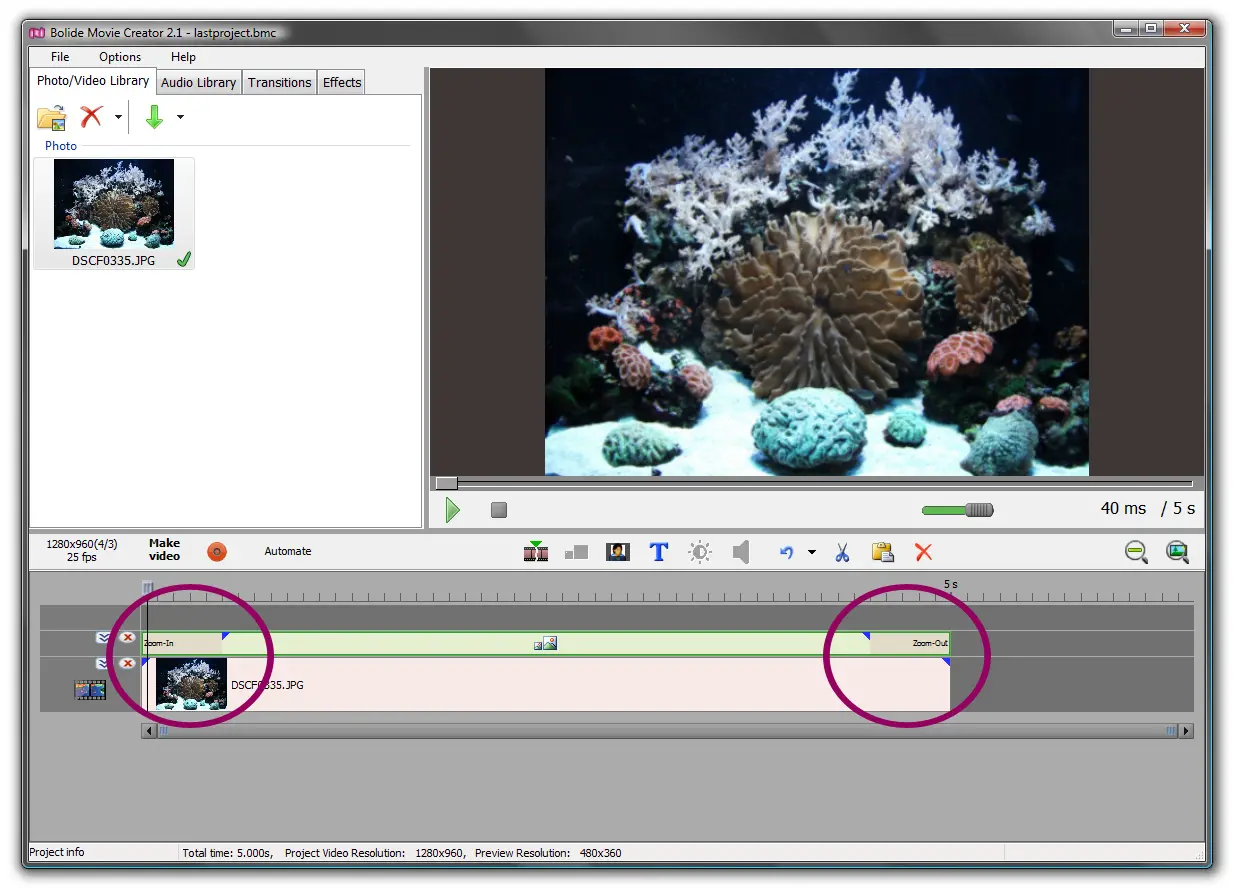
- You can adjust the duration of the zoom by left-clicking either end of the effect on your timeline; dragging it to make it physically shorter.
- The blue triangles indicate where the fully-zoomed effect begins and ends. However, much time you have set in-between the blue triangles marks how long your video will remain fully-zoomed in.
-
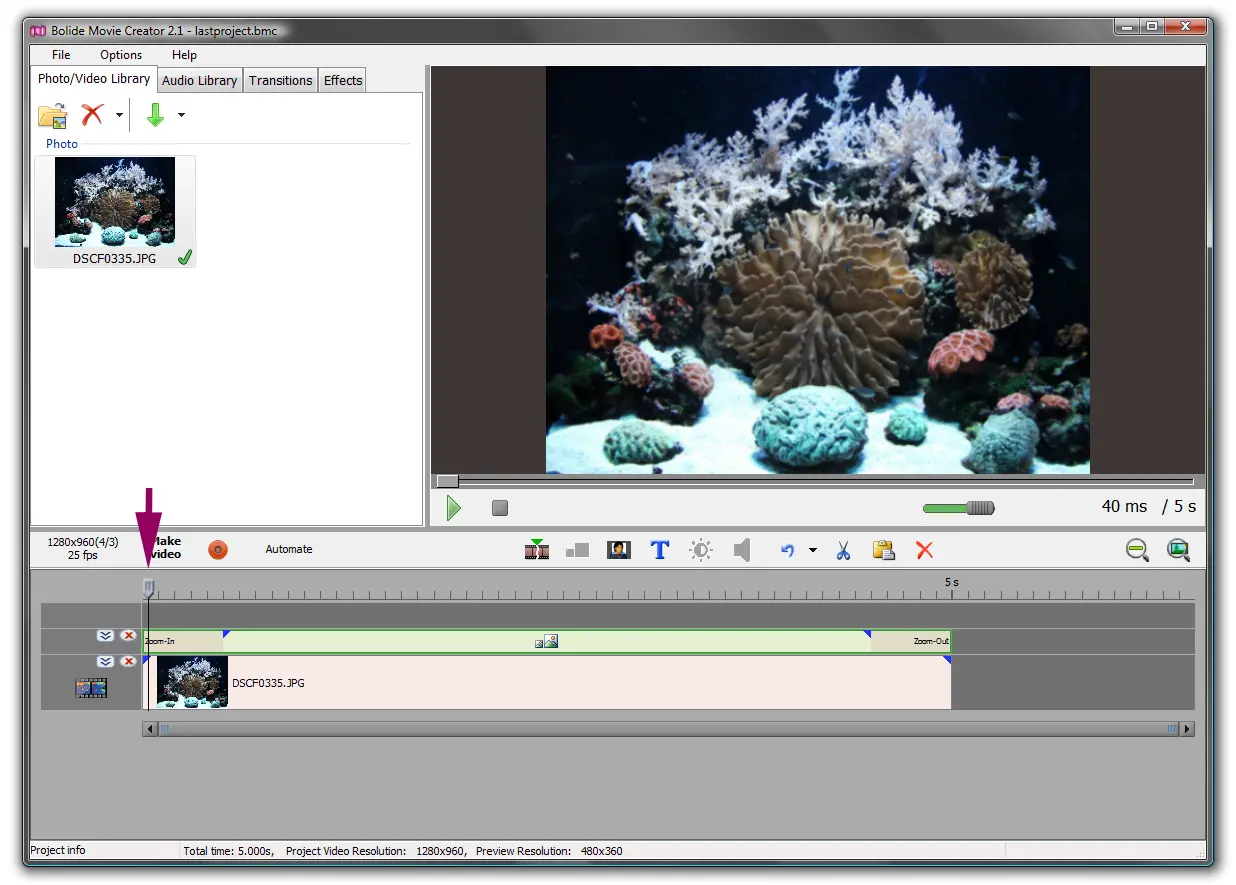
The space that sits before and after this area of effect (outside the blue triangles) represents how long it will take to zoom-in and out. Notice how the sample image zooms in closer and closer as the cursor travels from left to right toward the beginning of the zoom effect?
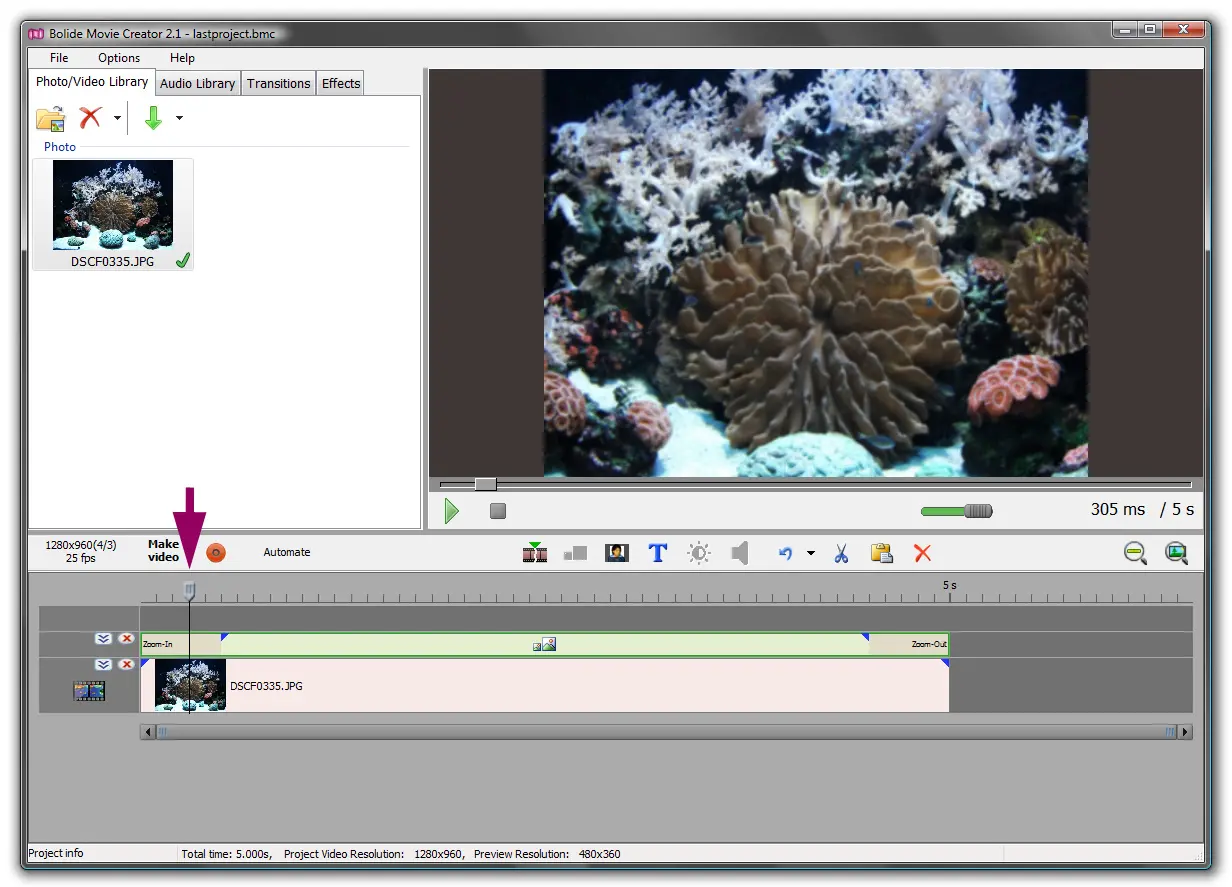
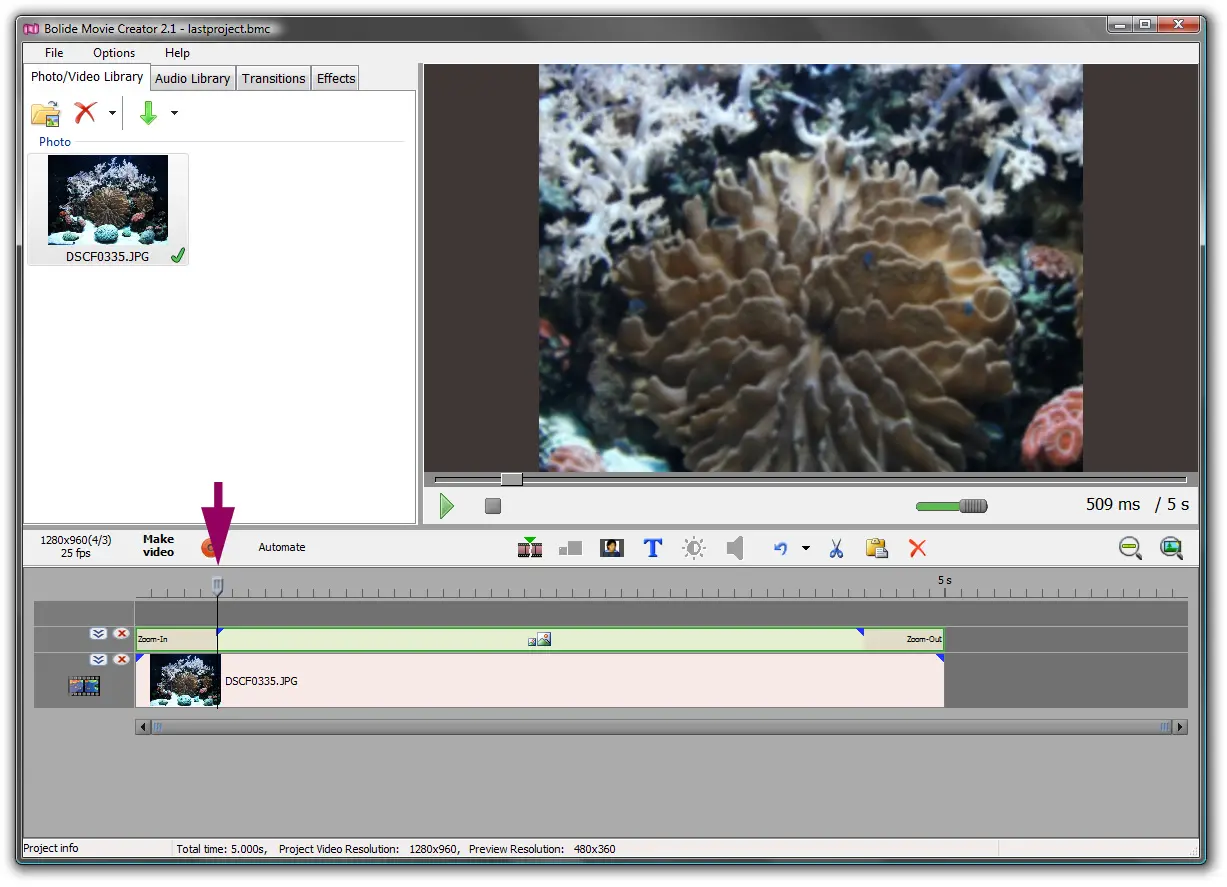
- The same principles apply but in reverse. As the cursor reaches the end of your zoom effect, your image will slowly zoom-out and eventually return to regular size.
Back to Video Editing Guide.

